
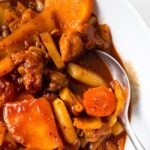

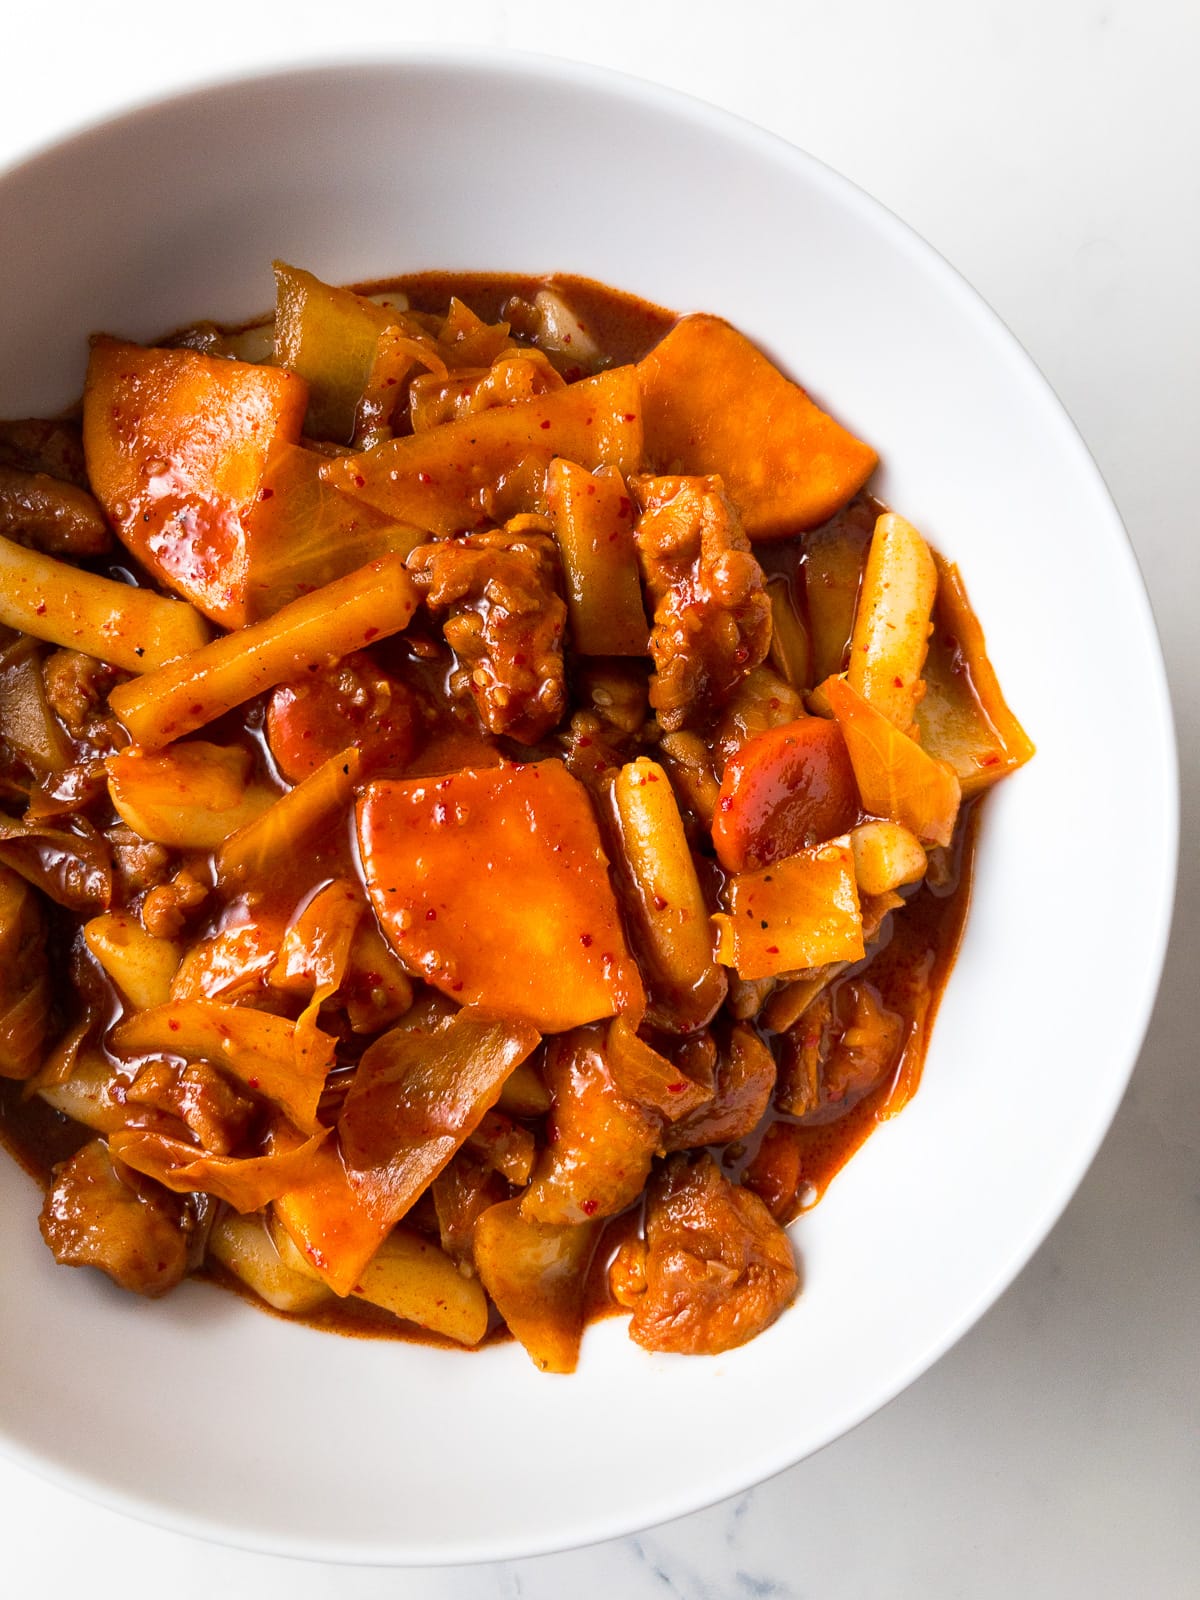
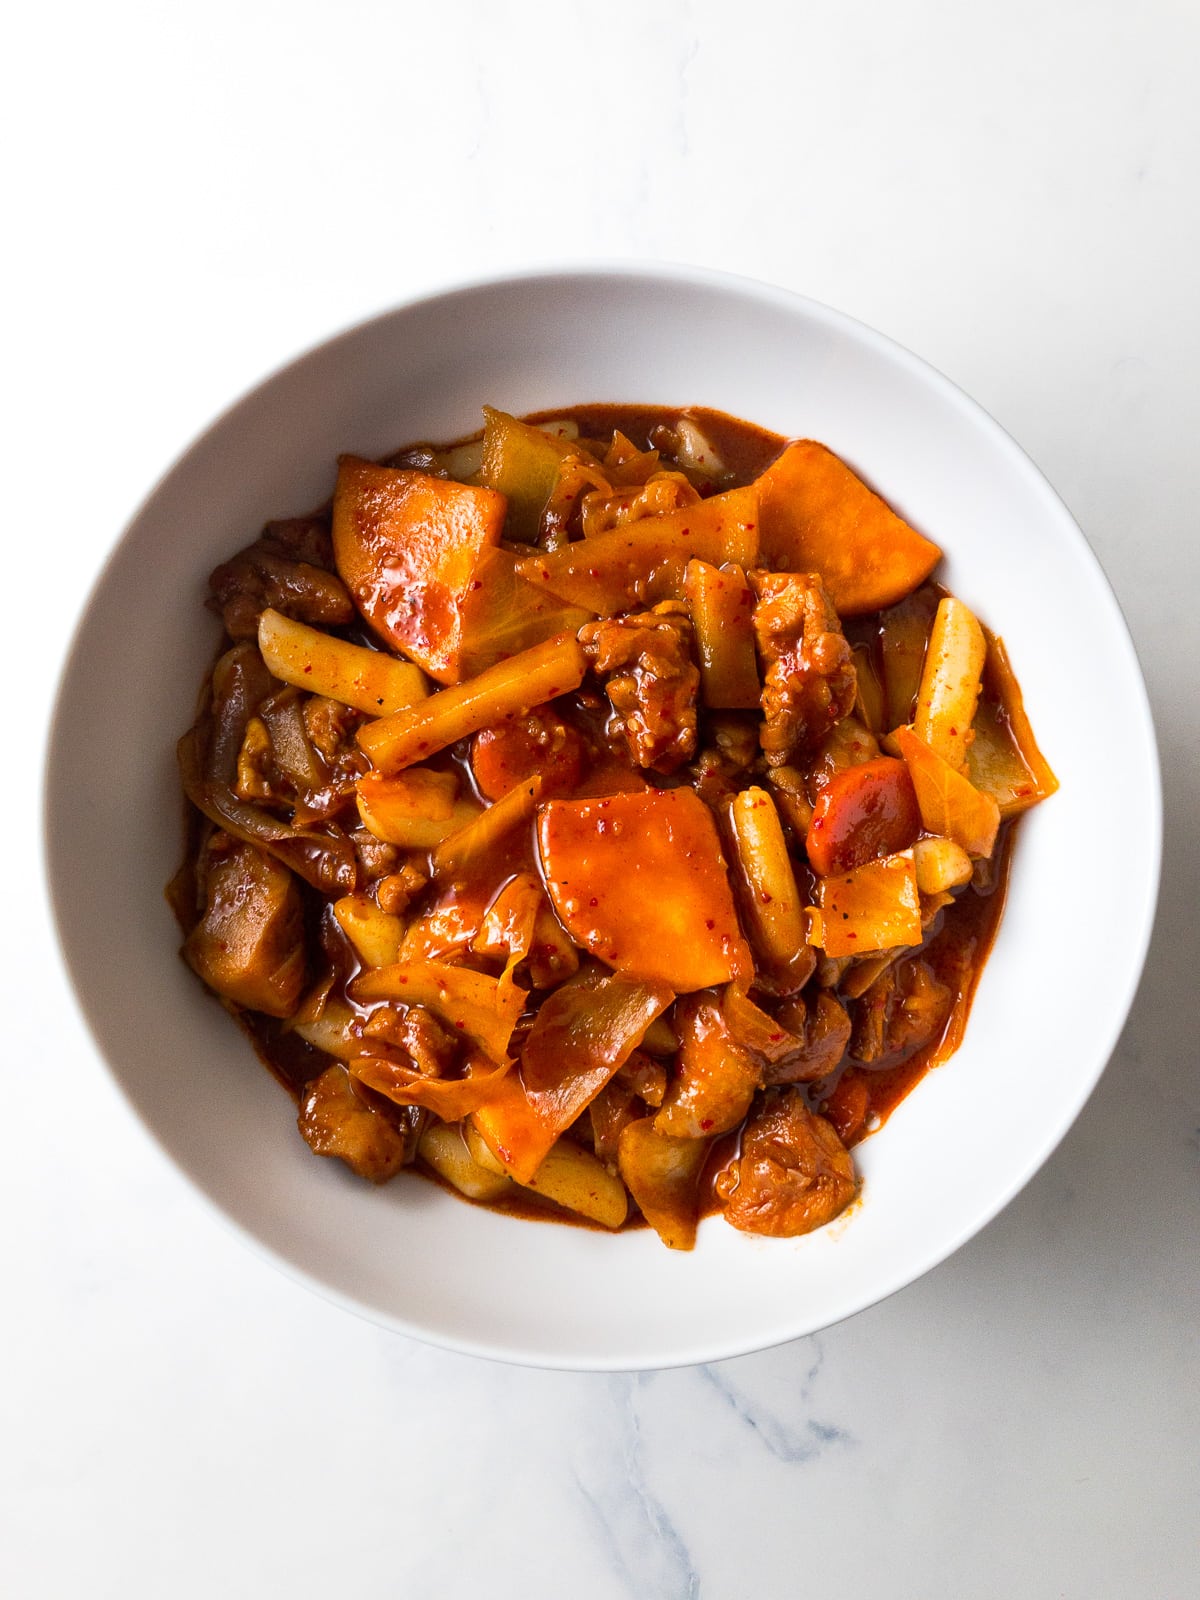
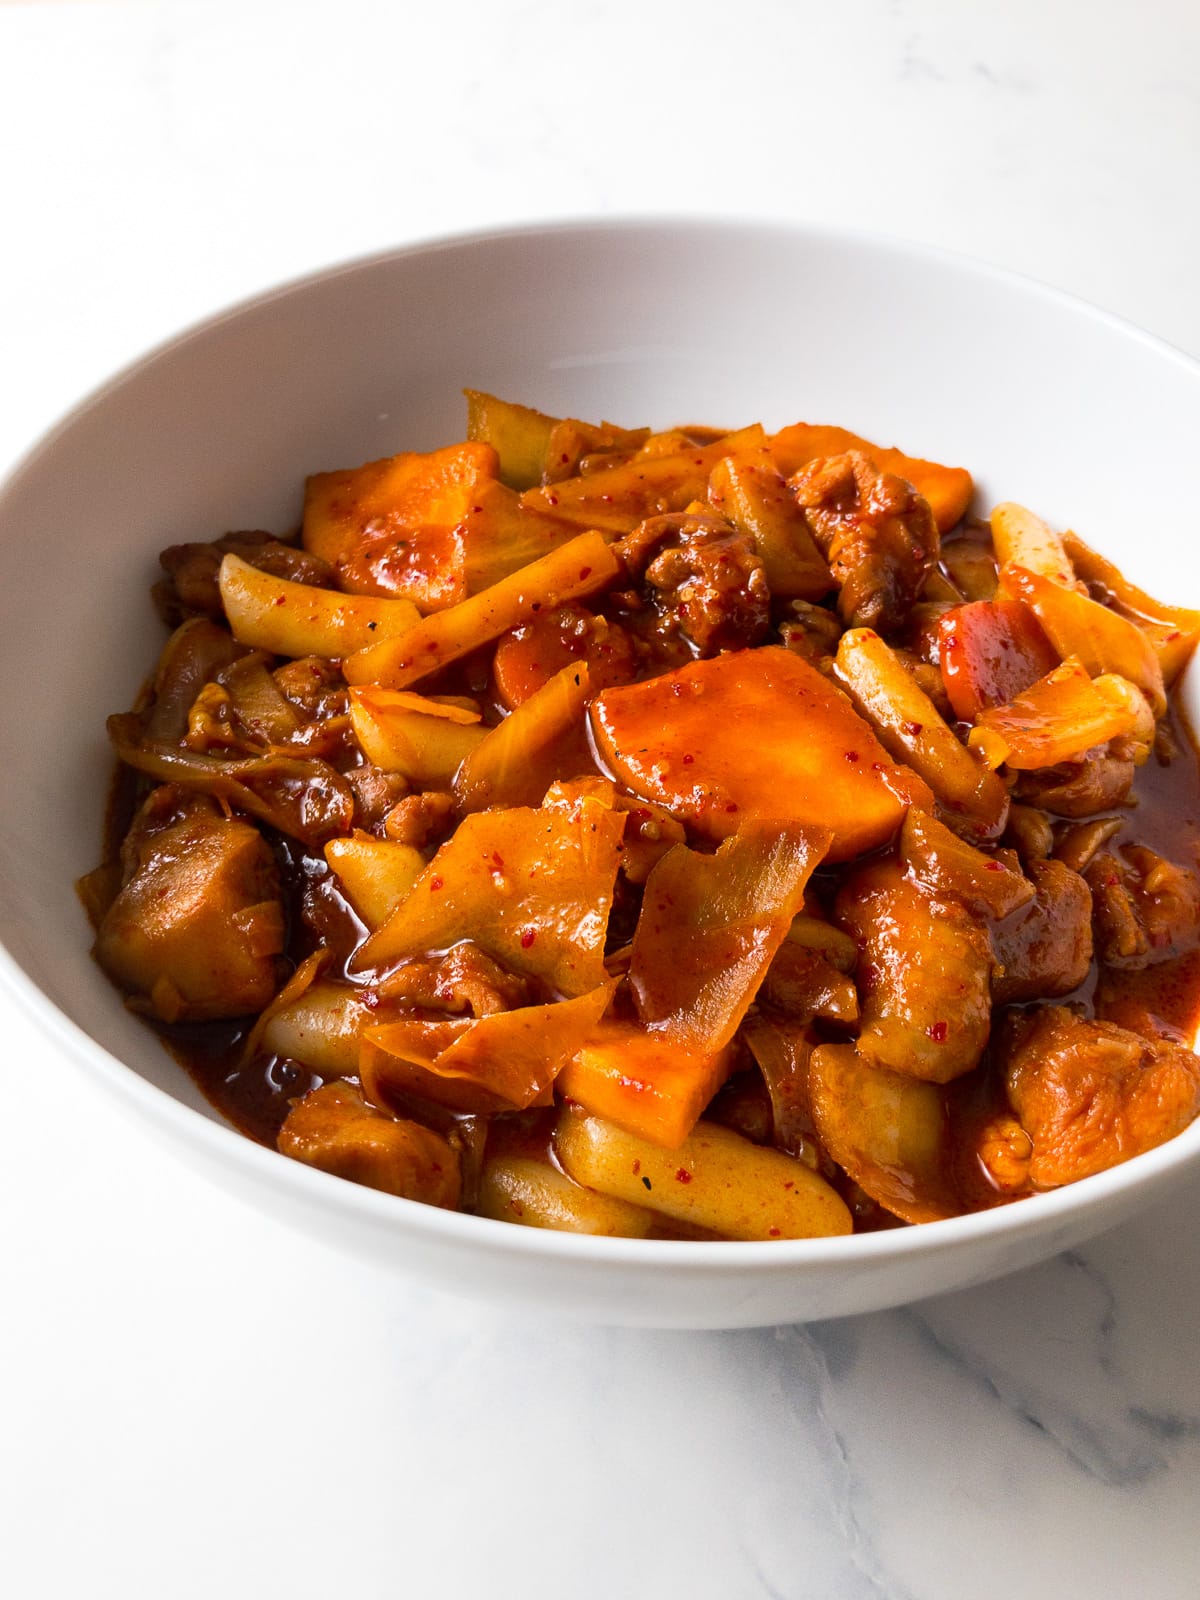
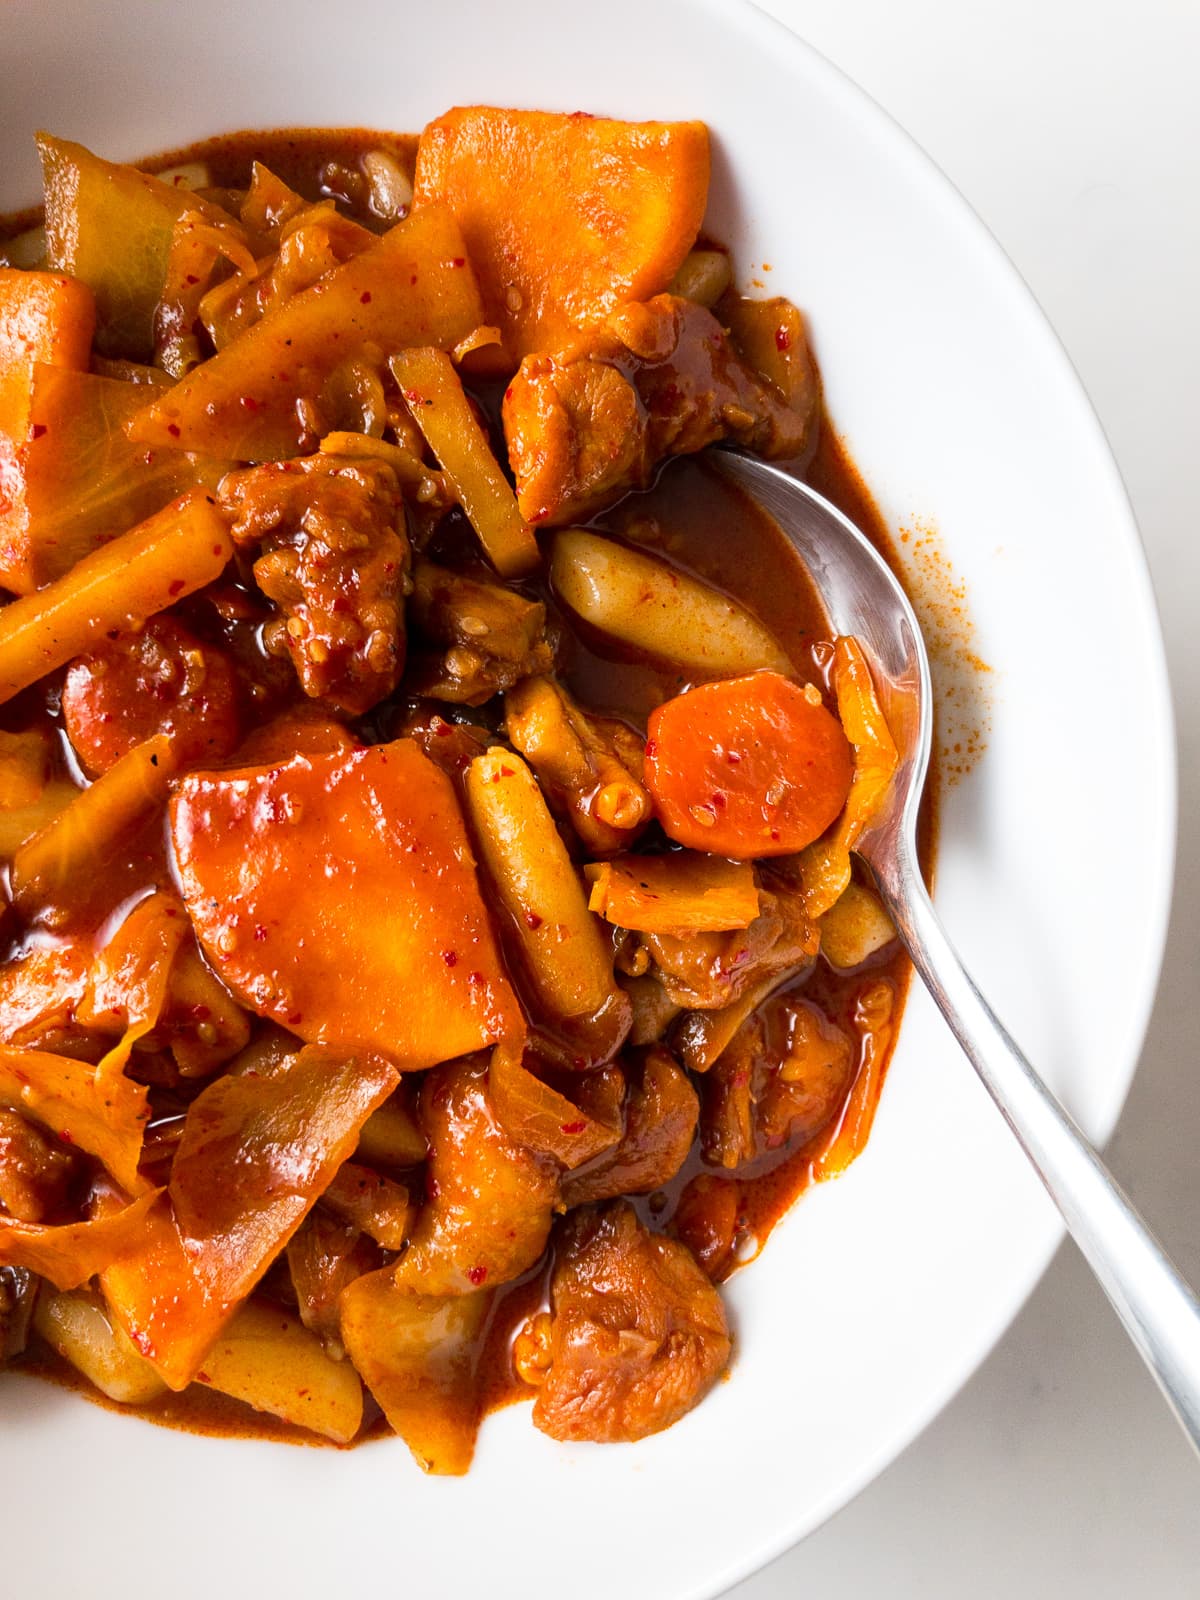
Korean dakgalbi is one of those dishes that anyone should have at least once in their lifetime! It is a slightly sweet, spicy, and umami-rich chicken stir fry that is packed with fresh vegetables. It is intensely flavored, very delicious, and super simple to make.
If you've tried dakgalbi at a Korean restaurant, then you'll probably know how amazing it tastes. It is the perfect combination of sweet, spicy, savory, and everything that makes food delicious!
And if you've never had dakgalbi before, then this is your call to make it! I always believed that making dakgalbi at home must be difficult. Turns out I was completely wrong.
Dakgalbi is actually an incredibly simple dish! Buying the ingredients is probably the most difficult and stressful part if you've never cooked with Korean ingredients before. And even this shouldn't be a problem.
Making dakgalbi at home? That's super easy and definitely worth it!
Ingredients
Most of the add-ins you'll need for making dakgalbi should be available at most grocery stores. Here is what you'll need:
- Chicken thighs: To make dakgalbi, always use deboned chicken thighs. They are a lot juicier and don't overcook as easily as chicken breast. You can leave the skin on or remove it.
- Sweet potato/potato: Another common ingredient is sweet potato or potato. I used a combination of both, but you can use only one type of potato to make this dakgalbi.
- Yellow onion: You can't make a Korean spicy chicken stir fry without adding onion! Just use a regular yellow onion to make this dish.
- Green onion: In addition to yellow onion, you'll need green onion.
- Green cabbage: Green cabbage is another key ingredient for making dakgalbi! So be sure to not omit it.
- Carrot: Carrot is another vegetable that is often found in dakgalbi. You can skip it, but I recommend using carrots to make this dish.
- Rice cakes: Korean rice cakes might not be available at your grocery store, but you will definitely find them in your Asian supermarket! You can buy them frozen, vacuumed, or even freshly made depending on the store you are shopping at. As for the shape, you can use the kind of rice cake that's available.
The following ingredients are needed to make the marinade. You can either buy them at an Asian supermarket or online. It might look like a lot, but these ingredients are actually great to have on hand if you like Korean or other Asian foods. Here is what you'll need:
- Gochujang: Gochujang is the most important ingredient to make the sauce for dakgalbi. It is a spicy Korean red pepper paste that is also used in various other dishes. So you can definitely use it again to try more Korean recipes. Unfortunately, there is no ingredient that can substitute gochujang. But it is widely available, so you should easily find it! And please make sure to check the label and buy the one with the appropriate heat level!
- Gochugaru: Gochugaru (Korean chili flakes) is another key ingredient that can be used in many different recipes, like this chili oil noodle recipe. They definitely have a unique flavor, so please make sure to use gochugaru and not regular red chili flakes.
- Garlic cloves: Dakgalbi doesn't taste the same without garlic! So make sure to add plenty of fresh garlic.
- Brown sugar: Brown sugar is needed to add sweetness and to balance out the other ingredients. You can use white sugar or honey as a replacement, but I'd recommend sticking to brown sugar.
- Soy sauce: You can use regular soy sauce to make this dish.
- Mirin: Mirin is a rice wine vinegar that is often used in Korean and Japanese cooking. Please don't mix it up with rice vinegar, both taste very differently. If you look for mirin in an Asian supermarket or online, you'll definitely find the right product.
- Korean curry powder: This is one of the ingredients that isn't absolutely necessary, but I highly recommend it! I tested dakgalbi with and without the Korean curry powder. And it definitely makes a difference. So if you can pick up a bag of Korean curry powder (the brand I used is Ottogi), I recommend doing that!
- Sesame seeds: I love to add sesame seeds as I always have a bag in my pantry, but they aren't necessary. So if you don't want to buy them, feel free to omit them.
- Sesame oil: You can skip the sesame seeds, but please don't omit the sesame oil! It really adds to the flavor of this dish, so make sure to use it.
How to make dakgalbi
As promised, making dakgalbi is very easy if you have all of the ingredients. Just follow these steps:
- Prepare the marinade: First, add all marinade ingredients to a small bowl and stir until combined.
- Soak the rice cakes: Next, add the rice cakes to a bowl and soak them in warm water for 10-15 minutes. Then drain and set aside.
- Marinate the ingredients: Now add the chicken and vegetables to a large bowl. Pour the sauce over the ingredients and mix until everything is combined.
- Cook the dakgalbi: Add the dakgalbi ingredients to a large pan and cook them over medium heat. Make sure to occasionally stir everything and add some water so the dakgalbi doesn't burn at the bottom. When the vegetables start to soften, add the rice cakes and let them cook with the dakgalbi.
- Serve: Serve with your sides of choice and enjoy!
Tips & Notes
Please make sure to check out the following notes before trying this Korean dakgalbi recipe.
- Marinate the chicken for several hours or overnight. I am a huge fan of quick and delicious. And if you don't have time to marinate the chicken in advance, don't worry about it. I've tried the dakgalbi without marinating the chicken beforehand and it tasted great! But if you have time to prepare things in advance, I highly recommend doing that. Letting the chicken marinate for at least 4 hours really makes the dakgalbi taste a lot more flavorful.
- Pay attention to the heat level on the gochujang package. This is one of the mistakes I made when I tried dakgalbi for the first time. I chose a very hot version of gochujang and trust me, it was spicy. Very spicy. So if you are unsure, buy something milder and add more gochugaru (Korean chili flakes) if needed.
- Don't substitute the Korean curry powder with regular curry powder. Korean curry powder doesn't taste like the curry powder you probably know, so make sure to buy Korean curry powder if you can. If you can't find Korean curry powder, just skip it or, if you want to experiment, try adding a small amount of curry powder.
- Don't use too much water in the beginning. As the vegetables cook, they lose water. So only add as much as you need to prevent the dakgalbi from burning. When the vegetables have softened, add more water as needed.
Cooking Styles
The way you cook and serve dakgalbi depends on whom you are cooking for. If you are making it just for yourself, you probably don't want to prepare as many sides and cook at the table.
If you plan to invite friends and host a dinner party, you might want to serve dakgalbi the way dakgalbi restaurants do it. Here are the two different ways to cook dakgalbi:
- At the table: If you cook for other people, you can prepare the dakgalbi at the table with a portable single burner. This style of eating is very similar to Korean BBQs where you have a bunch of side dishes and your main dish/meat that is shared and cooked with others while you eat. Just prepare a variety of side dishes and enjoy your Korean dakgalbi meal at home with friends and family!
- On the stovetop: If you are making dakgalbi for a quick and easy dinner, you probably don't want to spend as much time. In this case, just cook the dakgalbi on your stovetop and serve it with your side of choice. I recommend either udon noodles or rice and lettuce leaves.
Serving dakgalbi
Depending on the occasion for making dakgalbi, you can prepare one or multiple side dishes. Here are some of the classic sides that I recommend trying:
- Udon noodles: Udon noodles are a classic ingredient for serving dakgalbi! Buy pre-cooked udon noodles (frozen or vacuumed, prepared according to package instructions) and add them to the dakgalbi shortly before it is ready. Toss the noodles in the sauce and enjoy your spicy Korean chicken stir fry!
- Rice: Rice is another great side dish! If you make dakgalbi when hosting a dinner party, you can leave some dakgalbi leftovers in the pan and add some cooked rice, sesame oil, kimchi, and seaweed to make a delicious stir fry! This is how the meal is usually ended. But you can also serve the rice as a regular side dish and enjoy it with your meal (or do both).
- Lettuce: If you've had Korean BBQ before, then you already know the ssam-style of eating. You wrap your main dish and sides of choice into lettuce leaves and enjoy your lettuce wrap. You can do the same with dakgalbi. Just wrap your favorite pieces into a lettuce leave (don't forget to add the kimchi) and enjoy!
- Perilla leaves: Perilla leaves are another side commonly served with dakgalbi. They can be hard to find, so don't worry too much if they aren't available at your grocery store. But if you can find them, feel free to serve delicious perilla leaves with your dakgalbi.
- Kimchi: Kimchi is another delicious side dish that I recommend serving. You can find it at any Asian supermarket, so grab a jar of kimchi and serve it with your dakgalbi meal.
- Ssamjang: Ssamjang is a dipping sauce that you can buy and serve with dakgalbi. You can add the sauce to your lettuce wraps to make everything taste extra delicious.
- Other side dishes: There are many more Korean side dishes that you can serve, but the ones I mentioned are often served alongside dakgalbi. Other side dishes include pickled radishes, Korean cucumber salad, or cabbage salad. You can find them in Asian grocery stores or make them at home.
How do I make cheese dakgalbi?
A variation of classic dakgalbi is cheese dakgalbi. Since I can't eat a lot of cheese, I usually make the no-cheese version. But cheese dakgalbi is actually very popular. Here is how you make it:
- Make some space in the pan: When the dakgalbi has finished cooking, make some space in your pan in the shape of a stripe that goes through the middle of the skillet.
- Add and melt the cheese: Now fill that space with grated cheese, let it melt, and dip your cooked dakgalbi ingredients into the cheese. Enjoy!
Frequently Asked Questions
You can easily turn this dakgalbi into a gluten-free dish! Just buy gluten-free gochujang, tamari instead of soy sauce, gluten-free rice cakes, and omit the Korean curry powder.
Unfortunately, no. Gochujang has a very unique flavor and can't be replaced by other pastes. But it is available in any Asian grocery store or online, so please use it to try this recipe.
You can store leftovers in your refrigerator for 3-4 days. When you reheat the dakgalbi, you might have to add a little bit of water to thin the sauce. You can reheat it in a pan or microwave.
More simple and delicious Asian recipes
I absolutely love traditional Asian recipes or creating new recipes with traditional ingredients. Here are some of my favorite recipes that you might want to try.
Dakgalbi
Ingredients
Marinade Ingredients
- ¼ cup gochujang (Korean chili paste) mild or medium-hot
- 2 tablespoons gochugaru (Korean chili flakes) mild
- 3-4 garlic cloves minced
- 3 tablespoons brown sugar
- 3 tablespoons soy sauce
- ¼ cup mirin
- 1 tablespoon Korean curry powder
- 1 tablespoon sesame oil
- 1 tablespoon sesame seeds
- black pepper to taste
Dakgalbi Ingredients
- 1 pound chicken thighs deboned, cut into bite-sized pieces
- 1 ½ cups sweet potato and/or potato cut into sticks or halved/quartered slices
- 1 small/medium-sized yellow onion cut into slices
- 3 green onions cut into long pieces
- 2 ½ cups green cabbage roughly chopped
- 1 carrot cut into slices
Other Ingredients
- ⅓ - ½ cup water as needed
- 1 cup Korean rice cakes
Instructions
- First, add all marinade ingredients to a small bowl and stir until combined.
- Next, add the rice cakes to a bowl filled with warm water and soak for 10-15 minutes. Then drain and set aside.
- Add all dakgalbi ingredients to a large bowl. Pour the marinade over the ingredients and mix until everything is combined.
- Now add the dakgalbi ingredients to a large pan and heat it over medium-high heat. Add some water and make sure that there is always some liquid to prevent the dakgalbi from burning at the bottom.
- As soon as the pan is hot, let everything cook for 15-20 minutes over medium heat until the vegetables are tender. Cover the pan while you let the dakgalbi cook. Stir the dakgalbi occasionally and always add more water when needed.
- When the vegetables start to soften, add the rice cakes to the pan and stir. Let them cook with the dakgalbi until all ingredients are tender.
- Serve with your favorite side dishes and enjoy!
Notes
- Only add a small amount of water in the beginning. As the cabbage cooks, it loses a lot of water. So be sure to not add too much water.
- For more information on the recipe (ingredients, side dishes, etc.), check out the post.
Leave a Reply